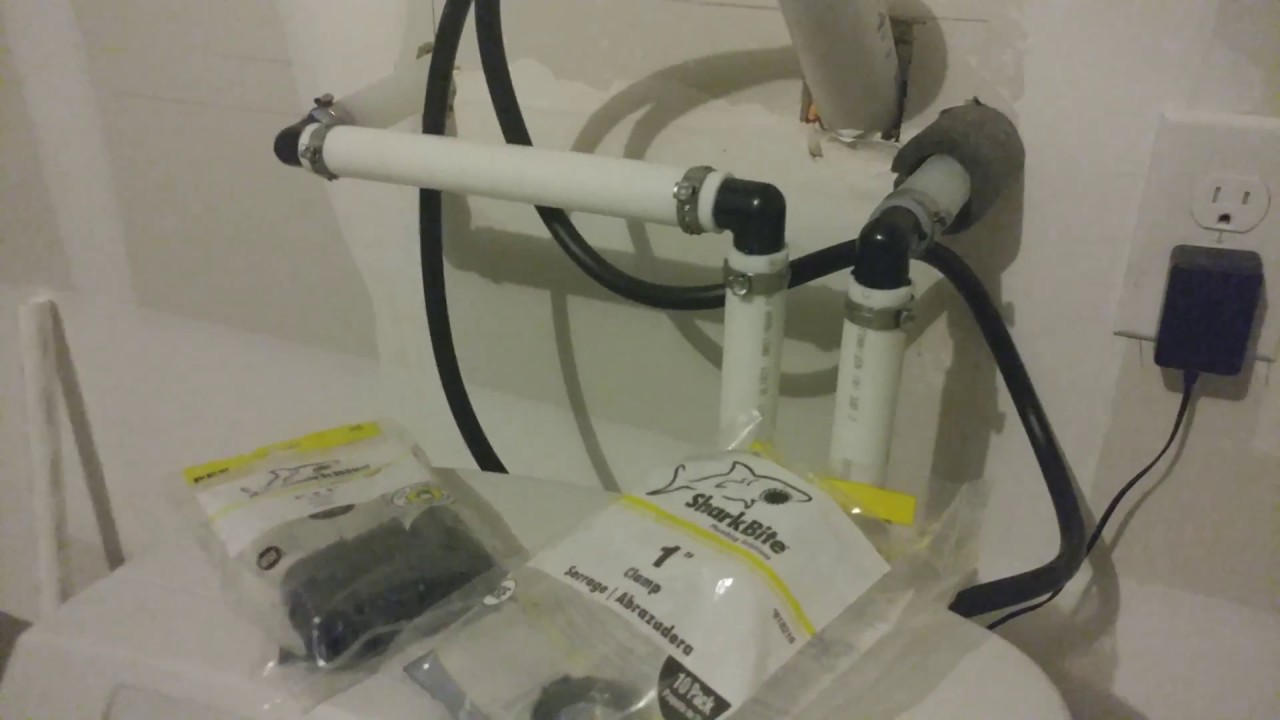
Installing a water softener in a pre-plumbed house can be a straightforward process if you follow the right steps. Hard water, which is water with high mineral content, can cause problems such as scaling, clogged pipes, and inefficient appliances. A water softener helps eliminate these issues by removing minerals like calcium and magnesium, resulting in softer water that’s kinder to your plumbing, appliances, and skin. This guide will walk you through the process of installing a water softener in a pre-plumbed house, step by step. With basic tools and a little know-how, you can complete this installation and enjoy the benefits of softened water in no time.
Understanding Your Water Softener and Pre-Plumbing Setup
Before starting, it’s important to understand the water softener system you are installing and the pre-plumbed setup in your home. Pre-plumbed homes are designed with designated points for easy installation of water softeners. This means your home already has a bypass valve and connectors installed in the plumbing system, reducing the amount of work involved.
- Water Softener Components:
- Mineral Tank: The tank where hard water minerals are trapped.
- Brine Tank: Holds the salt solution needed to recharge the mineral tank.
- Control Valve: Controls the water softening process.
- Pre-Plumbed Setup:
- Bypass Valve: This is a valve that allows you to divert water around the water softener, which is useful during maintenance.
- Inlet and Outlet Pipes: These pipes connect the water supply to your water softener.
1. Tools and Materials Needed
Before beginning the installation process, gather the following tools and materials:
- Water softener unit (includes mineral and brine tanks)
- Plumbing tape (Teflon tape)
- Adjustable wrench
- Screwdriver
- Pliers
- Hose clamps
- Flexible water supply lines
- Drain tubing (usually comes with the water softener)
- Gravel or rock salt for the brine tank
- Pipe cutter (if modifications to the plumbing are required)
- Level
2. Locating the Right Installation Spot
The next step is identifying the ideal location for your water softener system. Since your house is pre-plumbed, you should have a designated spot where the plumbing is set up for the installation.
- Near the Main Water Line: The water softener should be installed close to where the main water line enters your house. This ensures that all water entering your home gets softened, except for the water used for outdoor spigots.
- Access to a Drain: The system will need to drain water, so choose a location near a floor drain or a utility sink.
- Near a Power Source: Ensure the spot is close to an electrical outlet, as most water softeners require a power source for the control valve.
- Avoid Freezing Temperatures: Place the unit in a temperature-controlled area, as extreme cold can damage the softener.
3. Preparing for Installation
Once the location is identified, prepare the space and the water softener for installation.
- Turn Off the Water Supply: Turn off the main water supply to your home and drain the remaining water from the system by opening a faucet at a low point.
- Check Pre-Plumbing Connections: Identify the inlet (where hard water enters) and outlet (where softened water exits) connections. The pipes should be clearly marked for easy identification.
- Set Up the Water Softener Unit: If your water softener comes disassembled, connect the mineral tank to the control valve. Ensure the brine tank is assembled according to the manufacturer’s instructions.
4. Connecting the Water Softener to the Plumbing
The pre-plumbed connections in your home make this part of the installation relatively simple. Follow these steps:
- Connect the Inlet and Outlet Pipes:
- Use flexible water supply lines or tubing to connect the inlet and outlet pipes to the corresponding connectors on the water softener. The inlet pipe should connect to the “in” valve on the softener, and the outlet pipe to the “out” valve.
- Wrap the threads of the connections with Teflon tape to prevent leaks. Tighten the connections with an adjustable wrench, but avoid overtightening to prevent damage to the fittings.
- Installing the Bypass Valve:
- Most water softeners come with a bypass valve pre-installed. If yours doesn’t, install it now according to the manufacturer’s instructions. This valve allows you to easily bypass the water softener if needed, such as during maintenance or repairs.
- Ensure the bypass valve is in the correct position (bypass mode) during the installation.
5. Installing the Drain Line
The water softener will need a way to discharge water during the regeneration process. This is typically done through a drain line that carries the wastewater to a floor drain, utility sink, or sump pump.
- Attach the Drain Hose: Most water softeners come with a drain hose. Attach one end of the hose to the drain valve on the softener’s control head.
- Secure the Drain Hose: Use hose clamps to secure the drain line to the softener. Ensure it’s tightly fastened to avoid leaks during regeneration cycles.
- Direct the Hose to a Drain: Run the other end of the hose to a suitable drain. Make sure the hose doesn’t extend too far into the drain to avoid potential siphoning.
- Maintain an Air Gap: Ensure there’s an air gap between the end of the drain hose and the drain opening. This prevents backflow from contaminating your water supply.
6. Setting Up the Brine Tank
The brine tank is where salt is stored and mixed with water to create a solution that regenerates the resin beads in the mineral tank. Here’s how to set it up:
- Fill the Brine Tank with Salt: Pour rock salt or evaporated salt into the brine tank. Most manufacturers recommend filling the tank halfway to start. Make sure to use salt specifically designed for water softeners.
- Add Water to the Brine Tank: Depending on your softener’s instructions, you may need to add water to the tank initially. Typically, you’ll add enough water to cover the salt by a few inches.
- Connect the Brine Tank: Connect the brine tank to the mineral tank using the provided tubing. The tubing typically connects the brine valve on the control head to the brine tank.
7. Programming the Water Softener
Once all the physical connections are made, you’ll need to program the water softener according to your household’s needs.
- Set the Time: Begin by setting the current time on the control head. This ensures the system regenerates during off-peak hours.
- Water Hardness Level: You’ll need to input your water’s hardness level into the control unit. If you don’t know the hardness, you can test your water using a test kit or check with your local water supplier.
- Regeneration Frequency: Based on your household’s water usage and hardness level, the system will calculate how often it needs to regenerate. Follow the manufacturer’s instructions to set the appropriate regeneration cycle.
8. Testing the System
After installation, it’s important to test the system to ensure everything is working properly.
- Turn On the Water Supply: Slowly turn on the main water supply to your house. Check for leaks around all connections and fittings. If you notice any leaks, tighten the connections.
- Put the Softener in Service Mode: Turn the bypass valve to the “service” position, allowing water to flow through the softener.
- Check the Water Flow: Open a faucet and let the water run for a few minutes to flush any air or debris from the lines.
- Run a Regeneration Cycle: Manually initiate a regeneration cycle to ensure the system is working correctly. Monitor the softener during this process to check for any issues.
9. Maintaining Your Water Softener
Proper maintenance is key to ensuring your water softener operates efficiently for years to come. Here are some tips:
- Refill the Brine Tank: Regularly check the salt levels in the brine tank and refill it as needed. Most systems will alert you when the salt level is low.
- Clean the Brine Tank: Over time, the brine tank may accumulate sediment or debris. Clean it periodically to prevent blockages.
- Inspect the System for Leaks: Occasionally check the system for any leaks around the connections, pipes, and fittings.
- Test Water Hardness: Test your water periodically to ensure the system is softening your water properly.
10. Troubleshooting Common Issues
During or after installation, you may encounter some common problems. Here’s how to address them:
- Low Water Pressure: If you experience reduced water pressure after installation, check for blockages in the system or ensure that the bypass valve is fully open.
- Excessive Salt Usage: If your system is using too much salt, you may need to adjust the regeneration cycle or check for leaks in the brine tank.
- Hard Water After Installation: If your water isn’t soft after installation, check the settings on the control head or ensure the softener is properly connected to the main water line.
Conclusion
Installing a water softener in a pre-plumbed house is a relatively simple process that can greatly improve the quality of your home’s water. By following the steps outlined in this guide, you can successfully install a water softener, enjoy the benefits of softened water, and extend the life of your appliances and plumbing system. With proper maintenance and occasional troubleshooting, your water softener will continue to provide soft water for years to come.


