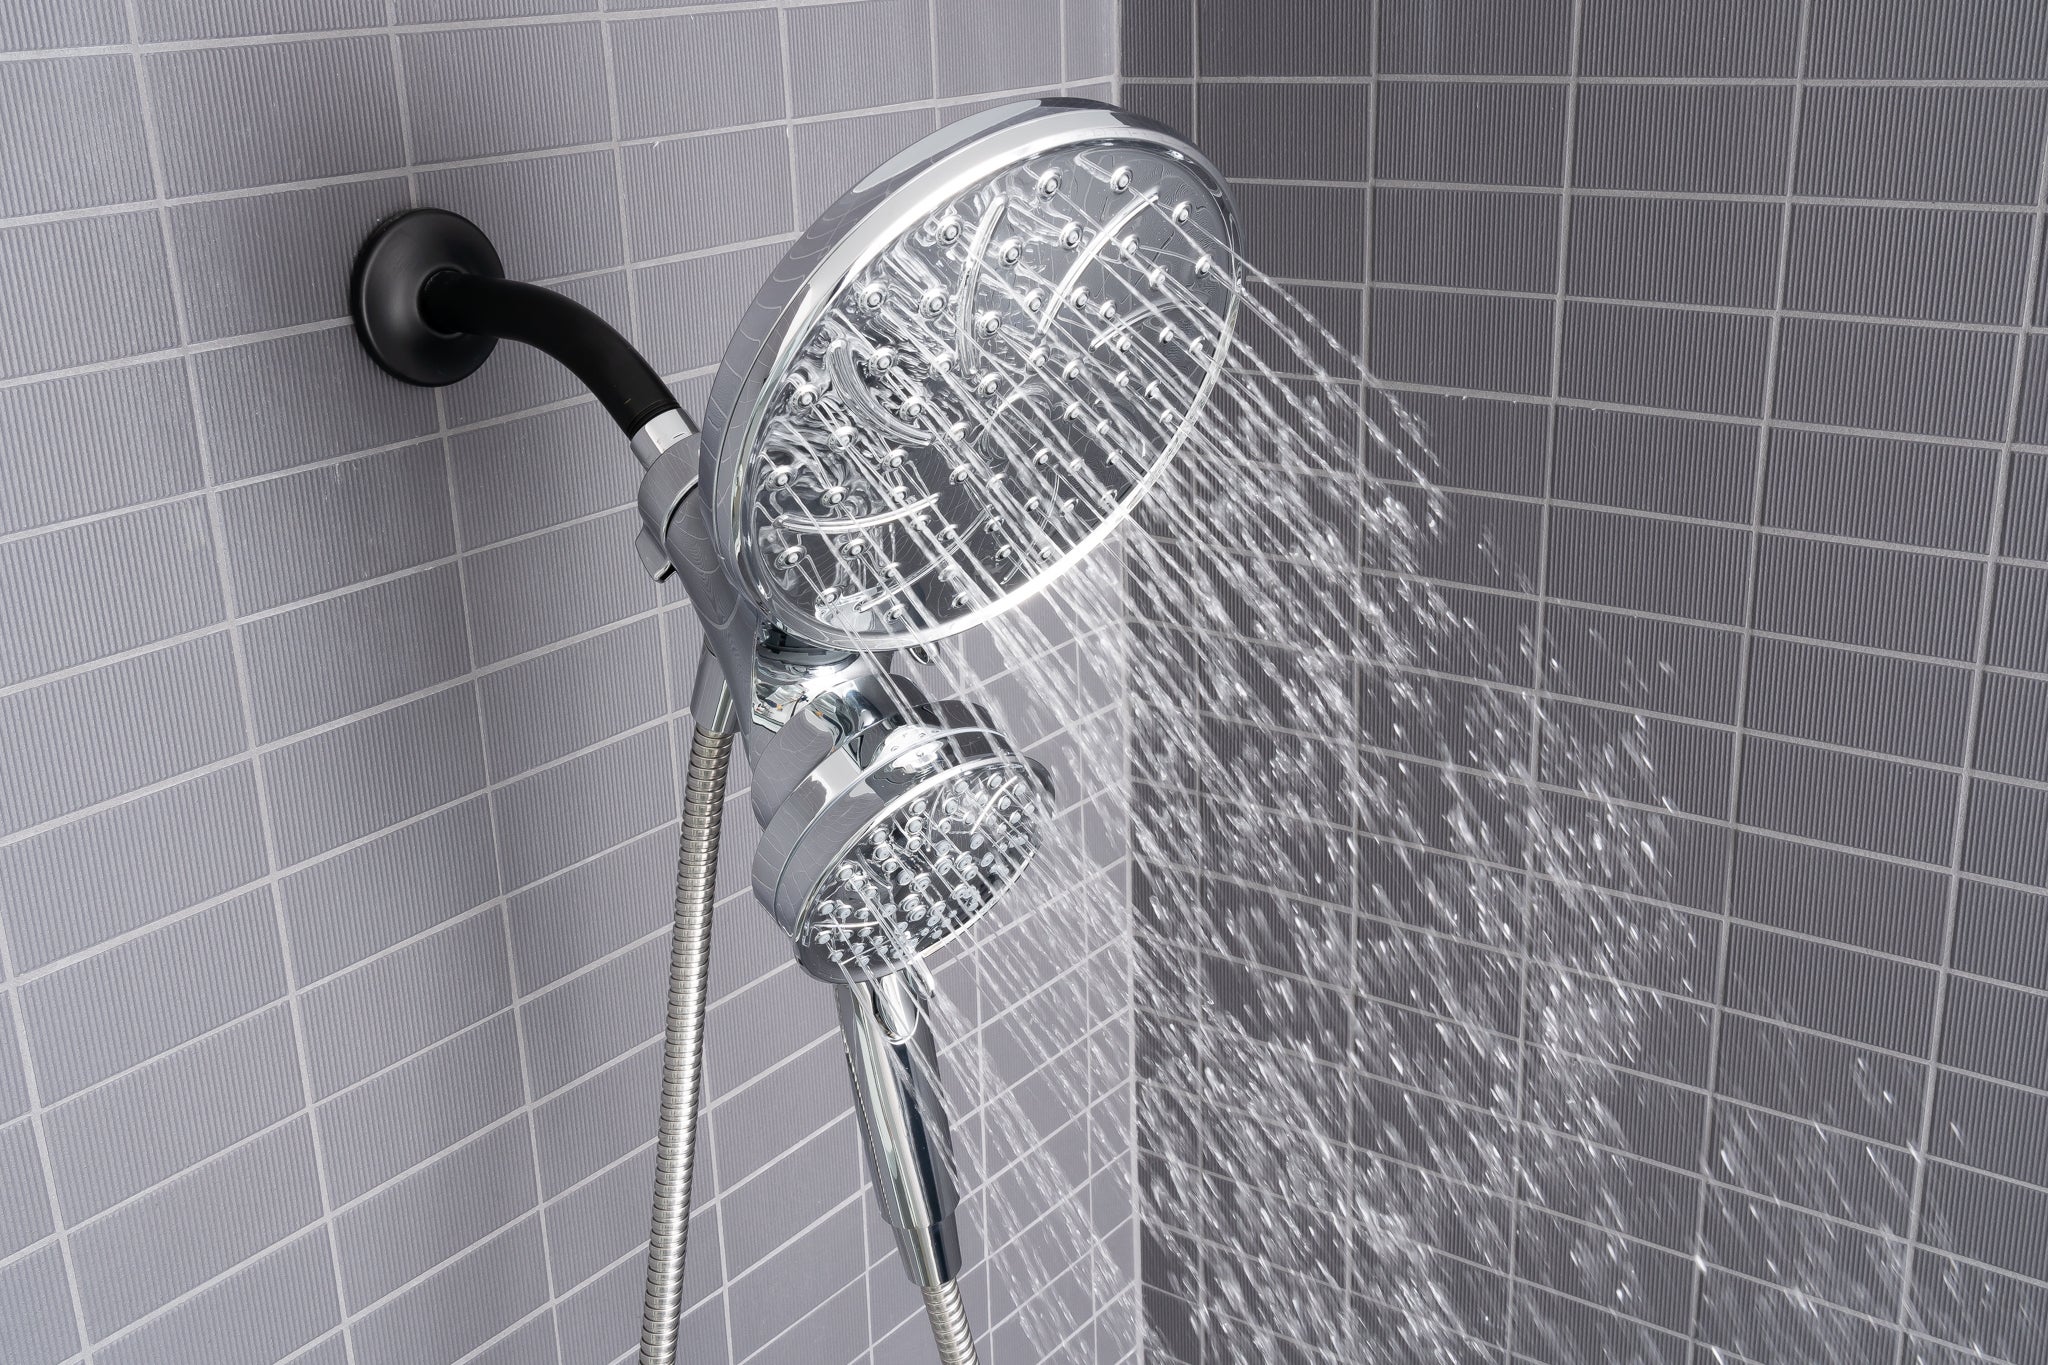
Installing a rain shower head with a handheld attachment can transform your bathroom into a luxurious oasis, providing a soothing and versatile shower experience. Unlike standard shower heads, rain shower heads offer a broad, gentle flow of water that mimics rainfall, while the handheld component allows for targeted water flow, making it practical for rinsing, cleaning, and accessibility.
This comprehensive guide will walk you through the process of installing a rain shower head with a handheld attachment, from choosing the right components to the final installation steps. With the right tools and some basic plumbing knowledge, you can easily upgrade your shower setup and enjoy the benefits of a customized shower experience.
1. Gathering the Necessary Tools and Materials
Before starting the installation, gather all the tools and materials you will need. Here’s a checklist:
- New rain shower head with handheld attachment
- Adjustable wrench or pliers
- Plumber’s tape (Teflon tape)
- Screwdriver
- Measuring tape
- Shower arm and flange (if not included with the shower head)
- Drill and appropriate drill bits (if new holes are needed)
- Pipe wrench (if necessary)
- Ladder or step stool
Make sure to check the packaging of your new shower head to see if any additional tools are recommended.
2. Choosing the Right Rain Shower Head with Handheld
When selecting a rain shower head with a handheld attachment, consider the following factors:
- Size and Shape: Rain shower heads come in various sizes, ranging from 8 inches to 16 inches in diameter. Choose one that fits your shower space and preferences. Round and square shapes are common options.
- Material: Opt for durable materials like stainless steel or brass, which resist corrosion and tarnishing.
- Finish: Select a finish that matches your existing bathroom fixtures, such as chrome, brushed nickel, or matte black.
- Water Pressure: Some rain shower heads require higher water pressure to function effectively. Check the product specifications to ensure compatibility with your home’s water pressure.
- Mounting Style: Decide if you want a ceiling-mounted or wall-mounted rain shower head. A ceiling-mounted option may require additional plumbing work.
3. Preparing for Installation
Once you have your tools and chosen shower head, it’s time to prepare for installation:
- Turn Off the Water Supply: Turn off the water supply to your shower. This is typically done by turning the valve located near the shower or shutting off the main water supply.
- Remove the Existing Shower Head: Use an adjustable wrench or pliers to unscrew the old shower head. Turn counterclockwise until it comes off. If it’s tight, use a pipe wrench for extra leverage.
- Inspect the Shower Arm: Check the existing shower arm for any signs of wear or corrosion. If it’s damaged, replace it with a new one. Use a cloth to clean any debris or old plumber’s tape from the threads.
4. Installing the Shower Arm and Flange
If your new rain shower head requires a different type of shower arm, follow these steps:
- Remove the Old Shower Arm: Use an adjustable wrench to unscrew the old shower arm by turning counterclockwise. Apply firm but gentle pressure to avoid damaging the pipe inside the wall.
- Install the New Shower Arm: Wrap plumber’s tape around the threads of the new shower arm to create a watertight seal. Screw the new arm into the wall fitting by turning it clockwise. Tighten it securely with an adjustable wrench, but be careful not to overtighten, which could cause damage.
- Attach the Flange: Slide the shower flange (the decorative plate that covers the hole in the wall) over the shower arm until it is flush with the wall.
5. Connecting the Rain Shower Head
Now that the shower arm is in place, it’s time to attach the rain shower head:
- Wrap Threads with Plumber’s Tape: Wrap plumber’s tape around the threads of the shower arm. This will help create a tight seal and prevent leaks.
- Screw on the Rain Shower Head: Align the shower head with the shower arm and screw it on by turning it clockwise. Hand-tighten the head first, then use an adjustable wrench to secure it. Be careful not to overtighten, as this could crack the fittings or damage the threads.
- Check for Leaks: Turn the water supply back on and check for any leaks around the connections. If there are leaks, tighten the connections or apply more plumber’s tape.
6. Installing the Handheld Shower Attachment
A handheld showerhead usually comes with a flexible hose and a bracket that attaches to the wall. Here’s how to install it:
- Attach the Hose to the Shower Head: Most handheld shower heads come with a flexible hose. Connect one end of the hose to the handheld showerhead and the other end to the diverter (a device that allows you to switch between the rain shower head and the handheld). Make sure to use plumber’s tape on all connections to prevent leaks.
- Install the Diverter: The diverter is typically installed at the base of the shower arm or at the faucet. Follow the manufacturer’s instructions to install it correctly. Make sure it’s securely fastened and that it easily switches between the rain shower head and the handheld.
- Mount the Handheld Bracket: Use a drill and appropriate drill bits to install the handheld bracket at a comfortable height on the shower wall. Follow the manufacturer’s guidelines for proper placement. Use screws and wall anchors if necessary for added stability.
7. Testing and Adjusting the Shower Setup
Once everything is installed, it’s time to test the setup:
- Turn on the Water: Turn on the shower and test both the rain shower head and the handheld. Switch between the two using the diverter to ensure they work properly.
- Check for Leaks: Inspect all connections, including the shower arm, rain shower head, hose, and diverter. If there are any leaks, tighten the connections or add more plumber’s tape as needed.
- Adjust the Handheld Shower Bracket: Make sure the bracket is securely mounted and that the handheld shower head fits snugly into it.
8. Additional Tips for a Successful Installation
- Use a Cloth or Towel: Wrap a cloth or towel around the shower arm or fittings when tightening with a wrench to avoid scratching or damaging the finish.
- Check the Water Pressure: If you notice reduced water pressure, make sure the diverter is installed correctly and that there are no blockages in the shower head or hose.
- Maintain Your Shower Head: Regularly clean your rain shower head and handheld to prevent mineral buildup, which can affect water flow. Remove the shower heads periodically and soak them in vinegar to dissolve any buildup.
9. Enjoying Your New Shower Setup
With your new rain shower head and handheld attachment installed, you can now enjoy a spa-like experience in your bathroom. Here are a few benefits to look forward to:
- Versatility: Easily switch between the broad, gentle flow of the rain shower head and the targeted spray of the handheld, making showering more enjoyable and convenient.
- Increased Functionality: The handheld showerhead is perfect for rinsing, cleaning, and reaching difficult areas, adding extra functionality to your shower.
- Enhanced Aesthetics: A rain shower head with a handheld attachment adds a touch of luxury and modern style to any bathroom, enhancing both functionality and appearance.
10. Troubleshooting Common Issues
During the installation, you may encounter some common issues. Here’s how to address them:
- Low Water Pressure: If the rain shower head is not delivering adequate water pressure, check for blockages in the head or hose, and ensure that your home’s water pressure is sufficient.
- Leaks at Connections: Leaks can usually be fixed by tightening the connections or applying more plumber’s tape to create a better seal.
- Diverter Issues: If the diverter is not switching between the rain shower head and handheld properly, check the installation instructions and make sure it is securely attached.
11. Long-Term Maintenance Tips
To keep your new shower setup in top condition:
- Clean Regularly: Regularly clean the shower heads with a mild cleaner or vinegar solution to prevent buildup.
- Inspect for Leaks: Periodically check all connections for leaks and re-tighten if necessary.
- Replace Parts as Needed: Over time, hoses, washers, or diverters may wear out. Replace them promptly to maintain functionality and prevent leaks.
Conclusion
Installing a rain shower head with a handheld attachment is a manageable DIY project that can significantly enhance your shower experience. By following this detailed guide, you can ensure a successful installation that meets your needs and adds value to your home.
Remember to gather the right tools, carefully follow each step, and test your new shower setup thoroughly before enjoying the soothing and versatile benefits of your upgraded shower.