Installing a backsplash in your kitchen can transform the space, adding both style and function. It’s an excellent way to protect your walls from splashes and stains while enhancing the overall aesthetics.
Whether you prefer a classic subway tile or a modern glass mosaic, installing a backsplash is a rewarding DIY project that can be accomplished with patience and attention to detail. In this guide, we’ll walk you through each step, from planning and preparation to the final touches.
By following this detailed guide, you’ll be able to confidently install a beautiful and durable backsplash in your kitchen, elevating the heart of your home.
Tools and Materials
Before you begin, gather the necessary tools and materials. Having everything ready will make the process smoother and more efficient.
Tools:
- Measuring tape
- Level
- Tile cutter or wet saw
- Notched trowel
- Grout float
- Sponge
- Bucket
- Tile spacers
- Pencil
- Utility knife
- Rubber mallet
- Caulk gun
Materials:
- Backsplash tiles
- Tile adhesive or thin-set mortar
- Grout
- Sealant
- Caulk
- Painter’s tape
Step 1: Planning and Measuring
Start by planning the layout of your backsplash. Measure the area to determine how many tiles you will need. Consider the design and pattern you want to achieve. It’s helpful to sketch your plan on paper, including any cutouts for outlets and switches.
Tips:
- Account for extra tiles to cover any mistakes or future repairs.
- Choose tiles that complement your kitchen’s color scheme and style.
- Decide if you want the tiles to extend to the top of your cabinets or to a certain height.
Step 2: Preparing the Surface
Ensure the wall surface is clean, dry, and smooth. Remove any grease, dirt, or old adhesive. Patch any holes or cracks and sand the surface for better adhesion.
Tips:
- Use a mild detergent to clean the wall and let it dry completely.
- If the wall is painted, lightly sand it to create a rough texture for the adhesive.
Step 3: Marking the Layout
Use a level and pencil to mark a horizontal line across the wall where the bottom row of tiles will start. This ensures that your tiles are aligned and level.
Tips:
- Measure and mark the center point of the wall to create a focal point for symmetrical designs.
- Use painter’s tape to mark the edges of the backsplash area for a clean finish.
Step 4: Applying Adhesive
Mix the tile adhesive or thin-set mortar according to the manufacturer’s instructions. Using a notched trowel, spread the adhesive evenly over a small section of the wall. Work in small areas to prevent the adhesive from drying out.
Tips:
- Hold the trowel at a 45-degree angle to create ridges in the adhesive.
- Avoid applying too much adhesive at once; work in sections that you can complete within 10-15 minutes.
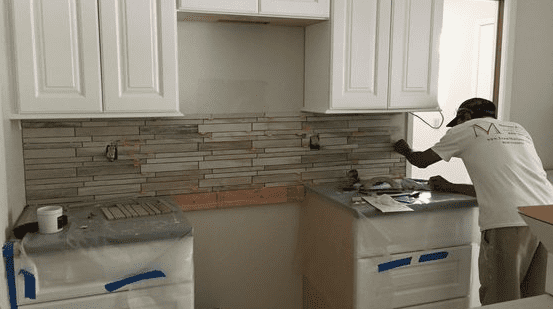
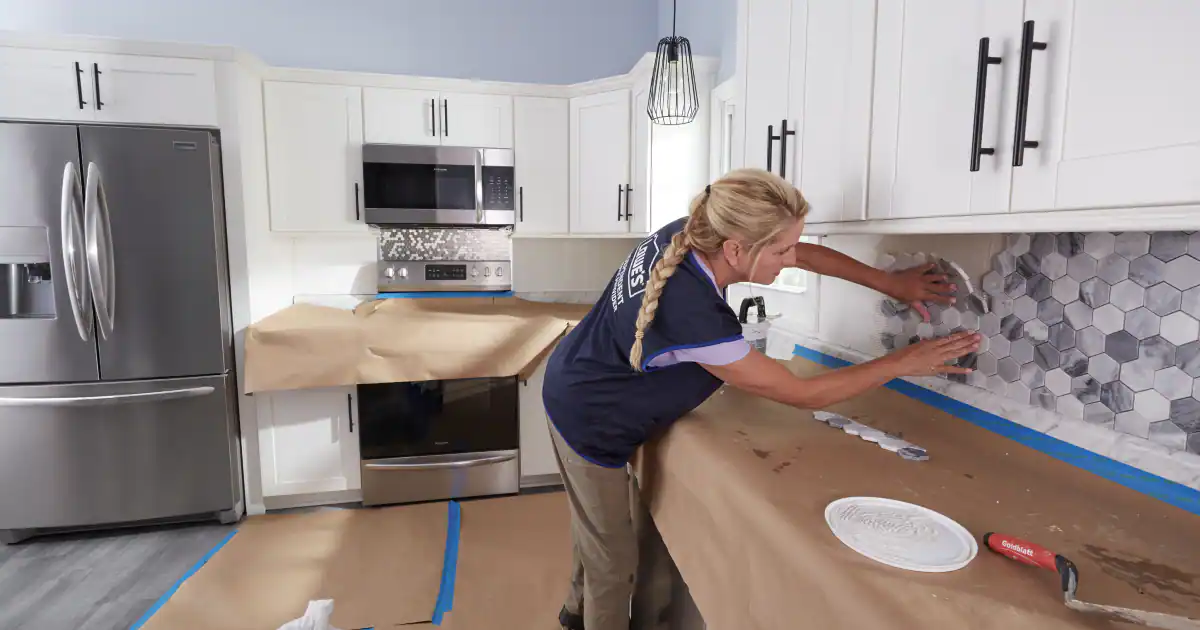
Step 5: Placing the Tiles
Begin placing the tiles on the wall, starting from the bottom center and working your way outwards. Use tile spacers between each tile to maintain even gaps for grout.
Tips:
- Press each tile firmly into the adhesive and give it a slight twist to ensure good contact.
- Check your work frequently with a level to ensure the tiles are straight.
Step 6: Cutting Tiles
You’ll likely need to cut some tiles to fit around edges, outlets, and switches. Measure the area that needs a cut tile, mark the tile, and use a tile cutter or wet saw to make precise cuts.
Tips:
- Wear safety goggles and gloves when cutting tiles.
- Smooth any rough edges with a tile file or sandpaper.
Step 7: Letting the Adhesive Dry
Allow the adhesive to dry for at least 24 hours, or as recommended by the manufacturer. This ensures the tiles are securely in place before grouting.
Tips:
- Avoid touching or disturbing the tiles while the adhesive is drying.
- Clean any excess adhesive from the tile surface with a damp sponge before it dries.
Step 8: Applying Grout
Mix the grout according to the manufacturer’s instructions. Using a grout float, apply the grout diagonally across the tiles, pressing it into the spaces between the tiles.
Tips:
- Work in small sections to prevent the grout from drying too quickly.
- Remove excess grout from the tile surface with a damp sponge, rinsing frequently.
Step 9: Cleaning the Tiles
After the grout has set for about 10-15 minutes, use a damp sponge to clean the tile surface. Wipe gently to avoid removing grout from the joints. Rinse the sponge often and change the water as needed.
Tips:
- Use a grout haze remover if necessary to clean any remaining grout residue.
- Allow the grout to cure for at least 24 hours before sealing.
Step 10: Sealing the Grout
Once the grout is fully cured, apply a grout sealer to protect it from stains and moisture. Use a small brush or applicator bottle to apply the sealer evenly along the grout lines.
Tips:
- Follow the manufacturer’s instructions for the best results.
- Apply a second coat of sealer if recommended.
Step 11: Caulking the Edges
Apply a bead of caulk along the edges of the backsplash where it meets the countertop and cabinets. This provides a finished look and prevents water from seeping behind the tiles.
Tips:
- Use a caulk that matches the color of your grout for a seamless appearance.
- Smooth the caulk with a wet finger or caulk smoothing tool.
Step 12: Final Touches
Inspect your work and clean any remaining grout or adhesive from the tiles. Replace outlet covers and switch plates. Step back and admire your new backsplash.
Tips:
- Use a gentle cleaner to keep your backsplash looking fresh and clean.
- Regularly inspect the grout and caulk for any signs of wear and reapply sealer as needed.
Troubleshooting Common Issues
Uneven Tiles: Ensure your initial row is level and use spacers consistently. Adjust tiles before the adhesive dries.
Adhesive Drying Too Fast: Work in smaller sections and use a damp sponge to clean as you go.
Grout Haze: Use a grout haze remover or a mixture of water and vinegar to clean the tiles after the grout has dried.
Cracked Grout: Ensure the grout is properly mixed and applied. Seal the grout to prevent moisture damage.
Maintenance Tips
To maintain the beauty and functionality of your backsplash:
- Clean regularly with a mild cleaner.
- Avoid abrasive tools that can scratch the tiles.
- Reapply grout sealer every 1-2 years to protect against stains.
- Inspect and reapply caulk as needed to maintain a watertight seal.
Conclusion
Installing a backsplash in your kitchen is a rewarding project that can enhance both the beauty and functionality of your space. By following this detailed guide, you’ll be able to tackle the installation process with confidence and achieve professional-looking results.
Whether you opt for a classic or contemporary design, a well-installed backsplash will add value and charm to your kitchen for years to come. Enjoy your new backsplash and the satisfaction of a job well done!