Decluttering your house can seem like an overwhelming task, especially when you think about tackling every corner of your home in just one day. However, with a clear plan, the right mindset, and efficient strategies, it’s absolutely possible.
This guide will walk you through the process, step by step, ensuring that by the end of the day, your house is tidy, organized, and free of unnecessary clutter. You’ll not only reclaim your space but also experience a sense of accomplishment and a refreshing new atmosphere in your home.
Let’s dive into this simple yet effective approach, breaking down each step to ensure the decluttering process is as smooth and manageable as possible.
Step 1: Set Clear Intentions and Goals
Before you begin, it’s essential to set specific goals. What do you want to achieve by the end of the day? This could be a general aim, such as “I want the entire house to feel less chaotic,” or more specific targets like “I need to clear out the living room, kitchen, and bedrooms.”
Action Steps:
- Decide which areas to focus on: If you’re short on time, prioritize high-traffic areas such as the living room, kitchen, and bathroom.
- Prepare a checklist: Write down all the rooms and areas you intend to declutter. This will help you stay on track throughout the day.
- Set a time limit for each room: Allocate a set amount of time for each area, like 30-60 minutes per room, to prevent you from spending too much time on one space.
By having clear intentions, you’ll stay motivated and avoid feeling overwhelmed as you move through your day.
Step 2: Gather Supplies
Having the right tools on hand will make the decluttering process faster and more efficient. You don’t want to interrupt your momentum by running around looking for trash bags or boxes.
Essential Items:
- Large trash bags (for items to throw away)
- Boxes or bins (for items to donate or sell)
- Cleaning supplies (multi-surface cleaner, microfiber cloths)
- A shredder (for unnecessary documents or papers)
- Labels and markers (to mark donation or sell boxes)
Action Steps:
- Get everything ready before you start: Place trash bags and boxes in each room, so you can immediately sort items as you go.
- Use a laundry basket for misplaced items: If you find items that belong in another room, place them in a basket. This prevents you from leaving your current task to return items to their proper places.
Having all the necessary supplies prepared will ensure you can move quickly and efficiently from one room to the next without interruptions.
Step 3: Start with the Easiest Room First
Starting with a smaller, easier room helps build momentum. A cluttered bedroom or an overflowing garage may seem daunting, but starting with something manageable boosts your confidence for the more challenging tasks ahead.
Action Steps:
- Begin with a room like a bathroom or hallway closet: These spaces usually accumulate less clutter, making it easier to organize.
- Quick sorting technique: As you go through items, use the “three-box method”—one box for things to keep, one for things to donate or sell, and one for trash.
- Clear countertops and flat surfaces first: Remove items from countertops, tabletops, and shelves. Once surfaces are cleared, the room will immediately feel cleaner.
By tackling an easier area first, you’ll gain the confidence needed to keep going and tackle larger, more complex rooms.
Step 4: Declutter One Room at a Time
The key to decluttering your home in one day is to focus on one room at a time. Multi-tasking or jumping between spaces will slow you down and leave you feeling overwhelmed.
Action Steps:
- Choose your next room: After completing the first, move to another, such as the living room or bedroom.
- Set a timer: Allocate 30-60 minutes per room. Stick to the time limit to keep things moving at a steady pace.
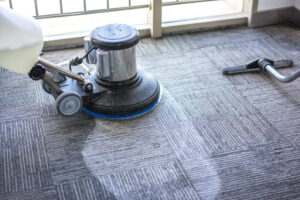
- Tidy as you go: As you declutter, wipe down surfaces and vacuum or sweep floors. This way, once the clutter is gone, the room is also clean.
Room by room, you’ll gradually see your house becoming more organized and clutter-free.
Step 5: Sort and Declutter Efficiently
Efficient sorting is crucial for decluttering quickly. As you work through each room, categorize items into “Keep,” “Donate,” “Trash,” and “Sell” piles.
Action Steps:
- Pick up each item and decide: Ask yourself, “Do I use this regularly?” “Does it add value to my life?” If the answer is no, consider donating or discarding it.
- Be realistic: Avoid holding onto things “just in case.” If you haven’t used it in over a year, it’s likely safe to let it go.
- Handle sentimental items carefully: While it’s okay to keep things with strong sentimental value, avoid letting sentimentality slow you down. Set a limit on how many items you’ll keep from this category.
Sorting efficiently will help you move quickly, making the decluttering process smooth and straightforward.
Step 6: Declutter High-Traffic Areas (Kitchen, Living Room, etc.)
High-traffic areas like the kitchen and living room are where families spend most of their time, so they often accumulate the most clutter. Tackling these spaces efficiently will have a big impact on how your home looks and feels.
Kitchen:
- Clear countertops of appliances you don’t use regularly.
- Discard expired food and unused pantry items.
- Organize drawers by removing duplicate utensils or gadgets.
Living Room:
- Sort through magazines, books, and newspapers.
- Declutter entertainment units by organizing cables, remotes, and accessories.
- Remove excess décor items and anything that doesn’t serve a practical purpose.
By decluttering these frequently used areas, you’ll notice an immediate difference in the overall atmosphere of your home.
Step 7: Handle Bedrooms and Wardrobes with a System
Bedrooms and wardrobes can easily become cluttered with clothes, shoes, and personal items. Decluttering these spaces can create a peaceful and relaxing environment.
Action Steps:
- Start with the wardrobe: Go through each clothing item. If you haven’t worn it in the last six months, consider donating or selling it.
- Sort clothes by season: Put away off-season items in storage bins or under-bed storage.
- Limit sentimental clothing: Keep only a few sentimental items, such as old uniforms or favorite outfits, and donate the rest.
Decluttering your wardrobe will not only give you more space but also make it easier to find and enjoy the clothes you love.
Step 8: Make Quick Decisions in Bathrooms and Hallways
Bathrooms and hallways are areas where clutter builds up in small amounts, like old toiletries, extra towels, or random items left behind. These spaces are easier to declutter but still require quick decisions.
Action Steps:
- Discard old products: Get rid of expired makeup, skincare, and other bathroom items.
- Limit towels and linens: Keep only what you regularly use and store the rest.
- Keep surfaces clear: Clear counters, hooks, and racks of excess items for a clean, streamlined appearance.
These areas are quick to organize but make a noticeable impact on the cleanliness of your home.
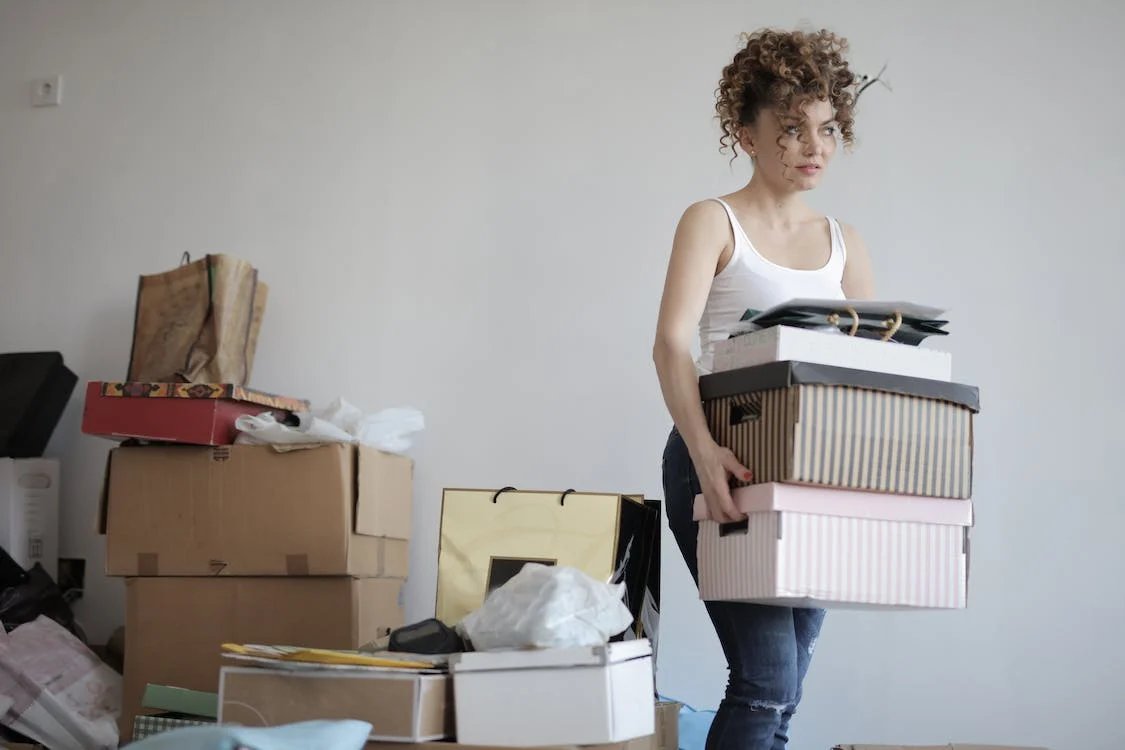
Step 9: Donate, Sell, or Dispose of Items Immediately
Once you’ve decluttered each room, it’s essential to remove the unwanted items from your house right away. Otherwise, you risk the clutter slowly creeping back in.
Action Steps:
- Bag and box items immediately: Take your “Donate” and “Sell” piles to a designated area near the door for easy removal.
- Schedule donations and pick-ups: If you have large furniture or bulky items to donate, arrange for a charity or removal service to pick them up.
- Sell items online or locally: If you plan to sell items, take photos and list them on online marketplaces like eBay or Facebook Marketplace.
By clearing these items from your home the same day, you’ll complete the decluttering process fully and ensure the clutter doesn’t return.
Step 10: Maintain the Decluttered Space
Decluttering your house in one day is a huge accomplishment, but the key to maintaining a clutter-free home is ongoing maintenance. Simple habits and systems will help you keep things tidy without needing to repeat the entire process too often.
Action Steps:
- Adopt a “one in, one out” rule: For every new item you bring into the house, consider donating or discarding an old one.
- Daily tidying routine: Spend 10-15 minutes each day tidying up, putting things back in their proper place, and managing mail or paperwork.
- Organize seasonally: Set aside time every few months to reassess your belongings and declutter again, especially in high-traffic areas.
Maintaining a clean, organized space will make your home more enjoyable and save you from needing another large-scale decluttering effort in the future.
Conclusion
Decluttering your house in one day may seem challenging, but with a clear plan, focus, and efficient strategies, it’s entirely achievable. By breaking the process down into manageable steps, you can systematically tackle each room, sort through your belongings, and enjoy the refreshing, clutter-free environment you’ve created. Remember, the key is to keep moving, stay focused, and let go of items that no longer serve a purpose in your home. Once the day is over, you’ll not only have a cleaner, more organized space but also a lighter, more peaceful mind.